Sometimes the best home improvements are the simplest ones.
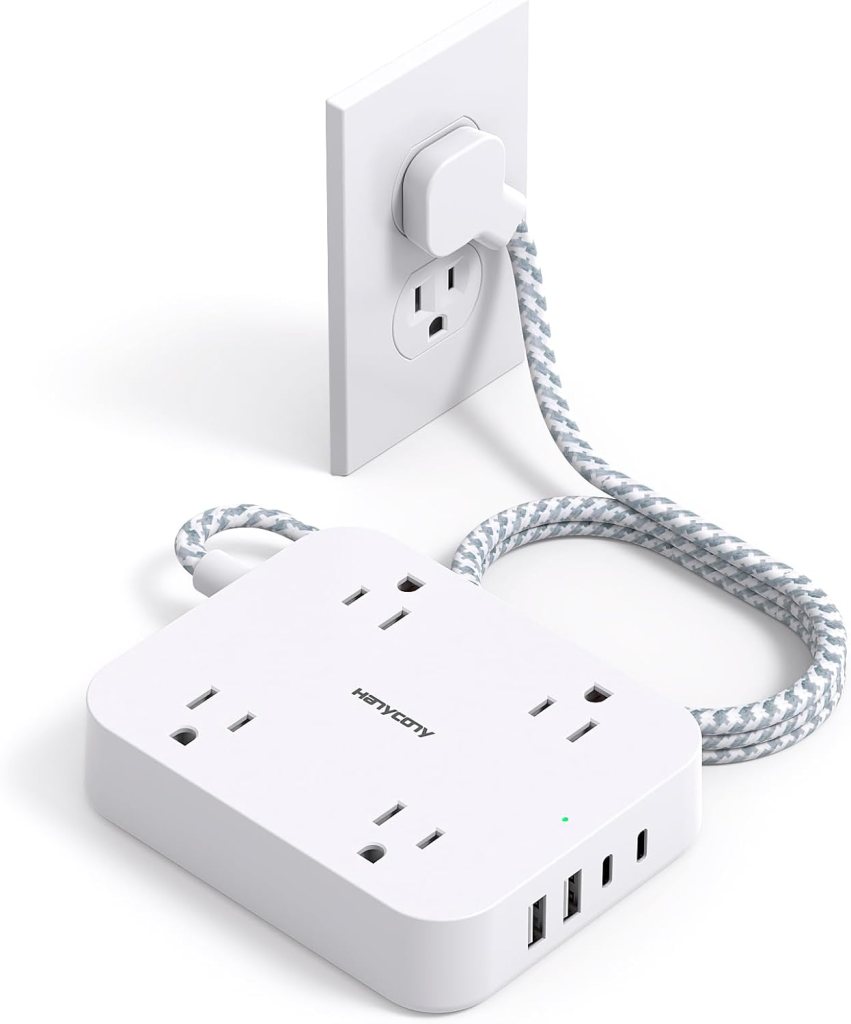
A flat plug might not seem exciting at first, but once you use one, it’s hard to go back. This small design change can improve functionality, organization, and even safety in your home.
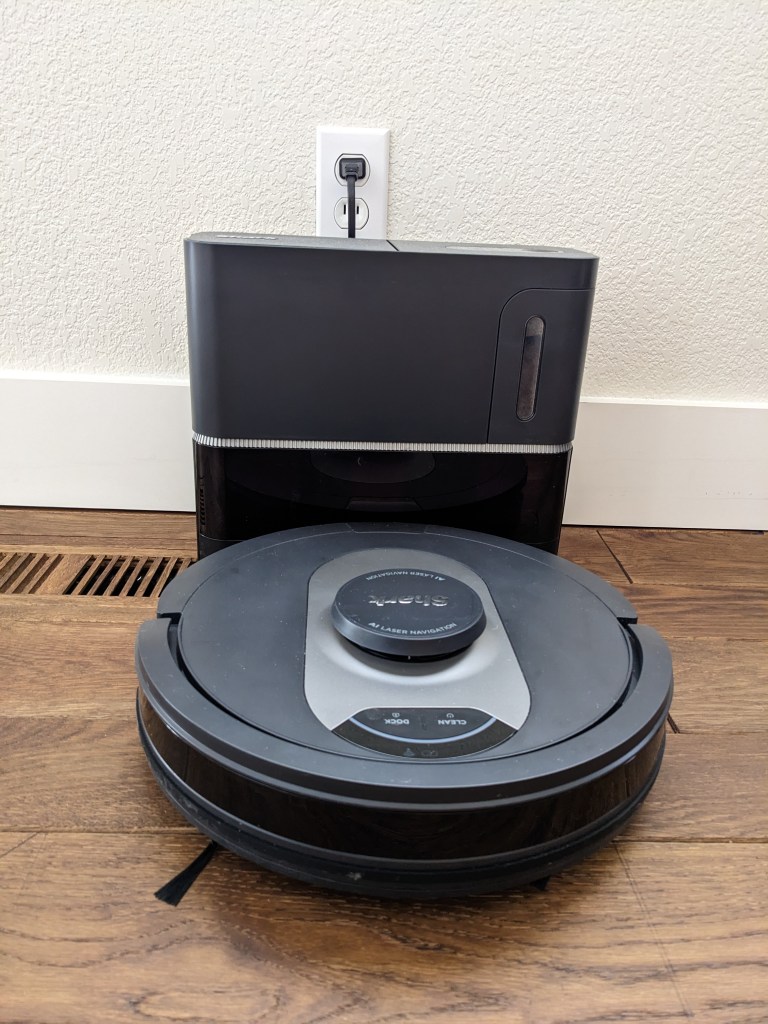
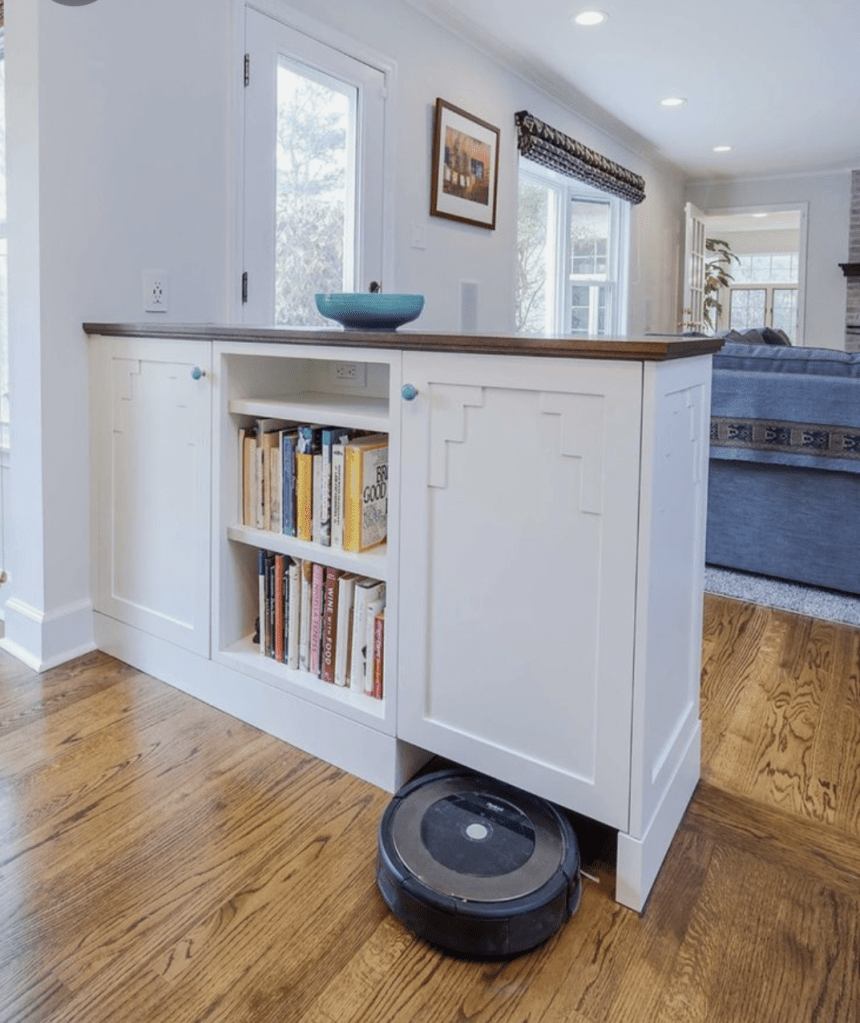
If you’ve ever struggled to push furniture flush against the wall because of a bulky plug sticking out, you already understand the problem flat plugs solve.
Saves Space Behind Furniture
Traditional plugs can stick out several inches from the wall, forcing furniture to sit awkwardly forward.
Flat plugs are designed to sit close to the outlet, allowing:
- Couches to sit tighter against walls
- Dressers and shelves to fit properly
- Beds and nightstands to maximize space
In smaller rooms, every inch matters, and flat plugs help you use space more efficiently.
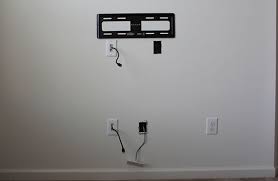
Cleaner, More Organized Appearance
Bulky cords and protruding plugs can make a room look cluttered.
Flat plugs create a cleaner setup by:
- Reducing visible cord bulk
- Helping cords run neatly along walls
- Creating a more streamlined look behind TVs, desks, and furniture
It’s a small detail that can make your home feel more organized and intentional.
Great for Tight Spaces
Flat plugs work especially well in:
- Home offices
- Entertainment centers
- Kitchens
- Bedrooms
- Hallways
Anywhere outlets are hidden behind furniture or appliances, a flat plug can make setup easier and less frustrating.
Helps Protect Cords
When bulky plugs are forced into tight spaces, cords often bend sharply, which can wear them down over time.
Flat plugs reduce pressure on the cord by allowing it to sit naturally against the wall instead of being crushed or bent awkwardly.
That can help:
- Extend cord life
- Reduce strain on outlets
- Lower the chance of cord damage
Perfect for Modern Living
As homes fill with more electronics, chargers, lamps, and devices, outlet space becomes more valuable.
Flat plugs help maximize that space while keeping things functional and tidy.
Many modern power strips and extension cords now use flat plug designs because they simply work better in real-life setups.
A Small Change With Everyday Benefits
Not every useful home upgrade has to be expensive or dramatic.
Sometimes it’s the small conveniences—like a flat plug—that improve your daily life the most.
You notice:
- Less frustration
- Better furniture placement
- Cleaner spaces
- Easier organization
And once you experience the difference, you start wondering why all plugs weren’t designed this way from the beginning.