Fresh paint can give your home a new look and feel, but it also requires careful preparation and attention to detail to ensure a smooth and long-lasting finish. Before you start, you should clean and repair surfaces, cover floors and furniture, and select the right paint and tools for the job. It’s also important to follow the manufacturer’s instructions for application, including proper ventilation and drying time.
We have used these Stak Racks to paint doors- they are FANTASTIC! We painted three doors at the same time and made the job so much easier.
INNOVATIVE DESIGN: Stak Rack is a revolutionary tool that allows you to paint and stack doors and trim with ease. Utilizing an innovative triangular design, Stak Racks are the ultimate compact painting system; saving you time, space and the hassle of trying to avoid drips, runs and smudges from too much project handling. This is the perfect tool for tackling multiple projects at one time, resulting in increased productivity. Proudly designed and manufactured in the USA.
USER FRIENDLY: Stak Rack’s are extremely easy to set-up and operate. Once attached you can proceed in preparing your doors for painting. Start by removing all hardware such as the door hinges and handle or knobs. You can then start repairing any imperfections and prep the surface with a sander or loose sand paper. Use masking tape to cover any surface you want to protect. Setup and operation is simple enough that it can be accomplished with just one person
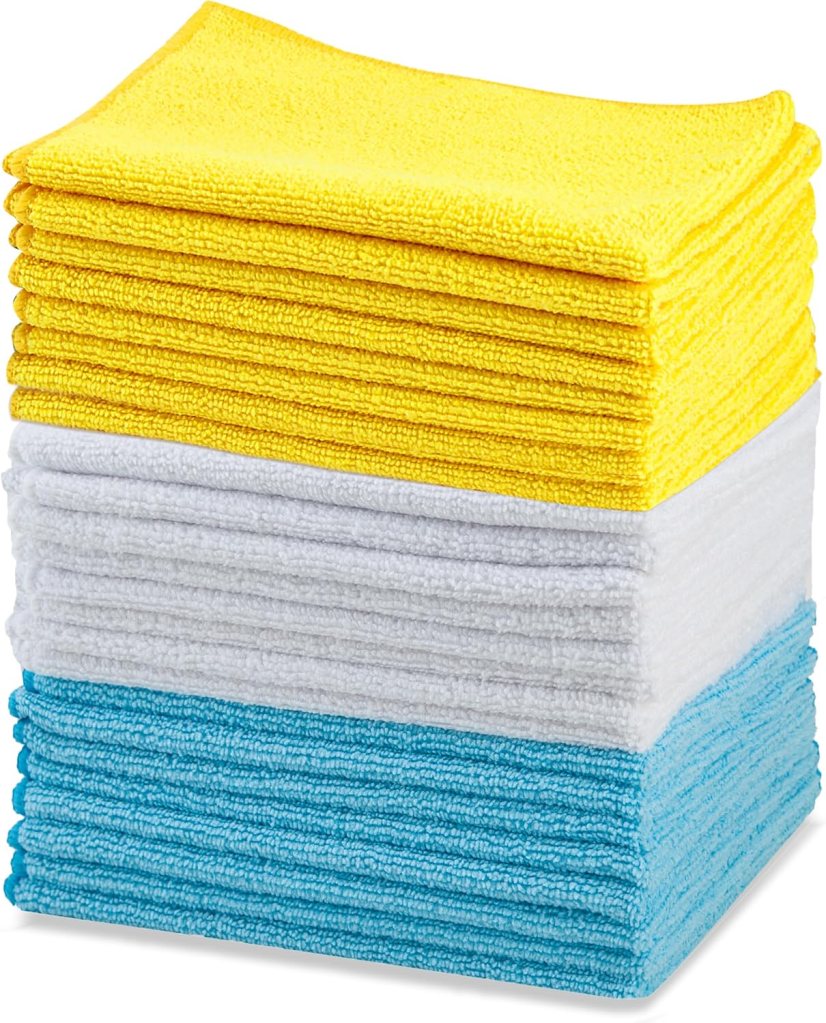
When it comes to cleaning smarter—not harder—microfiber towels… Whether you’re wiping down windows, drying your car, or dusting your shelves, these little cloths pack a big punch.
What Is Microfiber, Anyway?
Microfiber is made of super fine synthetic fibers—usually polyester and polyamide—that are smaller than a human hair. The tiny fibers are split during production, creating more surface area and allowing them to trap dirt, dust, and moisture far more effectively than regular cotton cloths.
Why Microfiber Towels Are a Must-Have
🧼 1. They Clean Without Chemicals Thanks to their ultra-fine fibers, microfiber towels can grab grime and bacteria using just water. Great for eco-conscious or allergy-sensitive households.
🧽 2. Super Absorbent Microfiber holds up to 7x its weight in water, making it perfect for spills, drying dishes, or even drying off the dog.
🌟 3. Streak-Free & Lint-Free Finish Say goodbye to streaks on your windows, mirrors, and stainless steel. These towels leave surfaces shiny and clean without lint residue.
💪 4. Durable & Long-Lasting With proper care, microfiber towels can last hundreds of washes, saving you money and reducing waste.
🌬️ 5. Fast Drying They dry quickly, which makes them less likely to develop odors or harbor bacteria.
Best Uses for Microfiber Towels
Cleaning windows and mirrors
Dusting electronics and surfaces
Wiping down kitchen counters and appliances
Drying cars without scratching paint
Polishing furniture or chrome
Removing pet hair from fabric surfaces
How to Care for Microfiber Towels
To keep your microfiber towels working like new:
Wash separately (especially from cotton)
Use cold or warm water—not hot
Avoid fabric softener (it clogs the fibers)
Air dry or use low heat in the dryer
Microfiber towels may look simple, but don’t underestimate their power. They’re tough on messes, gentle on surfaces, and a smart swap for wasteful paper towels or ineffective rags.
https://amzn.to/4b9BDLj Microfiber 16 x 12-inch cleaning cloth (24-pack); ideal for cleaning cars, trucks, boats, and more
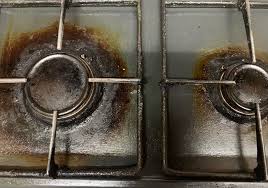
Some buildup just doesn’t respond to typical sprays and sponges. Hard water rings, rust stains, mineral deposits, grease that’s baked on — they cling to surfaces like they’ve decided they’re permanent. That’s when you need something stronger. Not harsher. Just more effective.
For the Stains That Don’t Budge
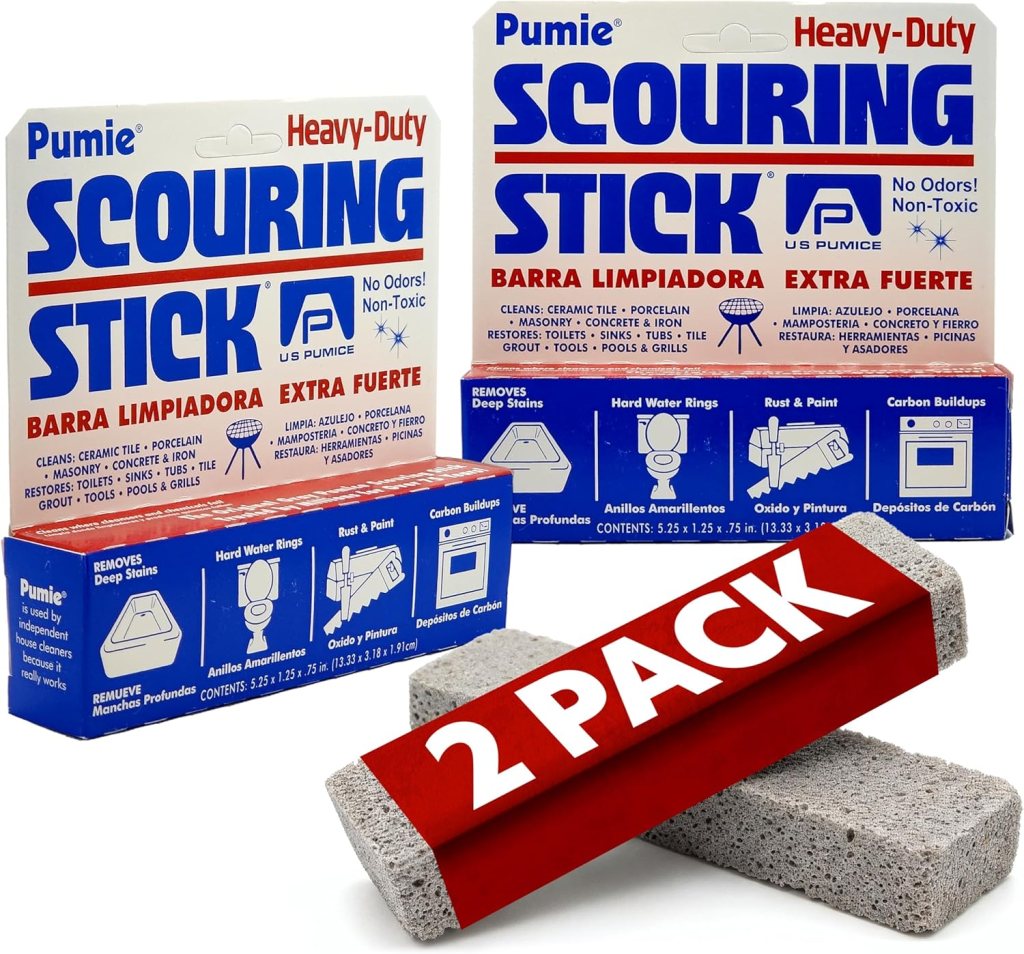
Certain cleaning tools are specifically designed to tackle the tough stuff that everyday cleaners can’t remove. They’re especially effective in toilet bowls, where hard water stains and mineral rings tend to settle in and stick around. Instead of layering on more chemicals, these tools physically break down the buildup and restore the surface underneath.
The difference is noticeable right away. That dull, stained surface starts to look clean again — not just masked, but truly restored.
More Than Just the Bathroom
What makes these tools especially useful is their versatility.
They’re not limited to toilets. They can be used on:
Ceramic tile
Porcelain
Concrete
Metal surfaces
Grills and barbecue grates
Pool tiles
Outdoor furniture
If it’s dealing with rust, scale, grease, or hard water buildup, chances are it can help.
That makes it one of those rare cleaning tools that earns a permanent place in the cabinet. Instead of buying separate products for every surface, you have one reliable solution that handles multiple jobs.
Tough on Stains, Safe for Your Home
One of the biggest concerns with heavy-duty cleaning is safety — especially in homes with kids and pets. You want something effective, but not something that leaves behind harsh fumes or questionable residue.
Professional-grade cleaning tools like these are designed to be powerful on stains while still being safe for everyday household use. That balance matters. A clean home shouldn’t come with worry attached.
Professional Results at Home
There’s a reason professionals rely on tools like this. They work.
They don’t rely solely on chemicals to dissolve stains. Instead, they physically remove buildup that’s been sitting there for months — sometimes years. It’s satisfying to see a stubborn stain finally disappear.
And sometimes, that small win — a truly clean sink, a spotless toilet bowl, a rust-free grill — just feels good.
Because a clean space creates a clear mind.
If you’ve been fighting the same tough stains with the same results, it may not be your effort that’s lacking. It may just be time for a better tool.
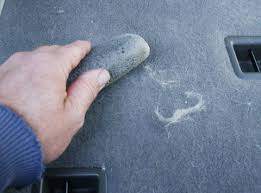
If you’ve ever tried to keep a car clean with a dog in the family, you know the struggle: fur everywhere. Seat covers, vacuums, lint rollers—they help, but sometimes dog hair just seems impossible to remove from carpeted surfaces.
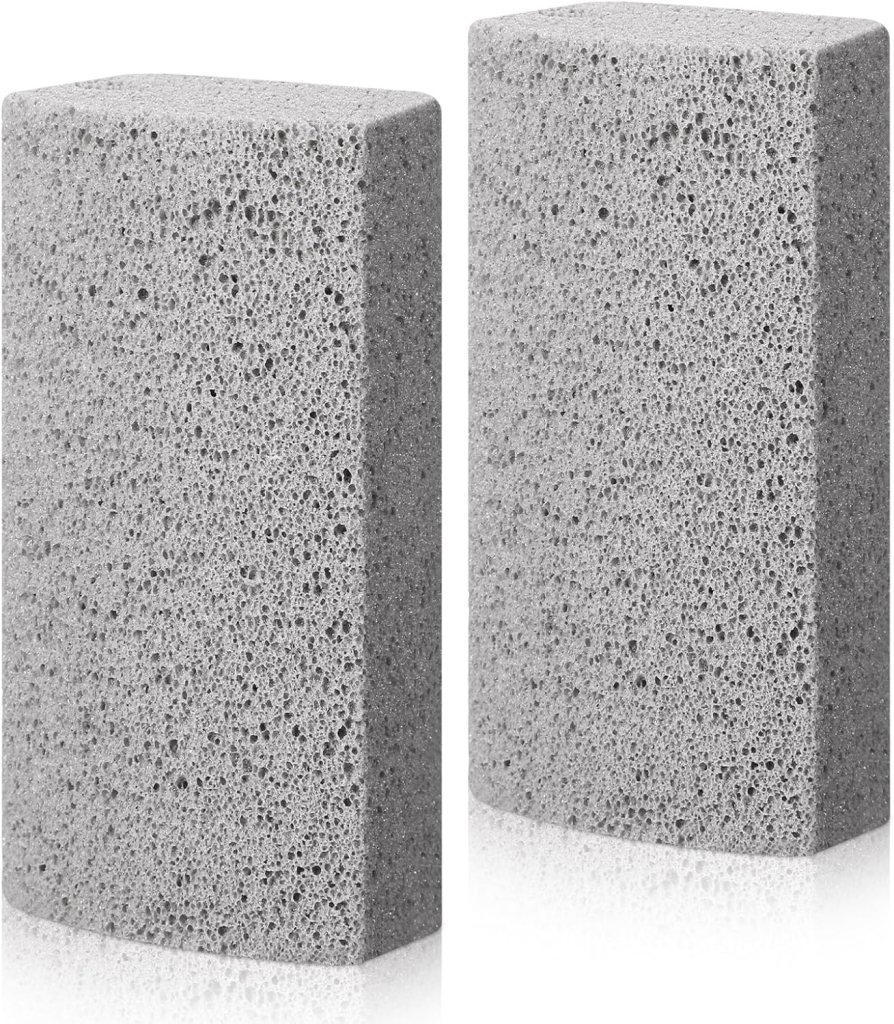
Recently, we learned a simple trick from a professional car detailer that changed the game: pumice stones.
Why Pumice Stones Work
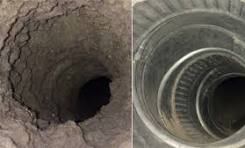
Pumice stones are naturally abrasive—but in a gentle way that works perfectly on fabric and carpeted surfaces. When rubbed lightly across upholstery or carpet, they grab stubborn pet hair that vacuums or brushes often leave behind. The tiny ridges of the stone catch the hairs, pulling them up without damaging the fabric.
How to Use a Pumice Stone for Dog Hair
Choose the Right Stone: Pick a small, handheld pumice stone that’s smooth and easy to grip. Avoid stones that are too rough—they can fray delicate fabrics.
Dry Surface Only: Make sure your car seats or carpets are dry. Wet surfaces make the stone less effective and can leave residue.
Rub Gently: Lightly drag the stone over the carpet or upholstery. You’ll start to see clumps of dog hair lift away.
Vacuum Up the Hair: After using the stone, vacuum the loosened hair for a complete clean.
Repeat as Needed: For very hairy cars, a couple of passes usually does the trick.
Why This Works Better Than Lint Rollers
Lint rollers are great for small jobs or smooth surfaces, but they often struggle with deep-set hair in fabric or carpet. Pumice stones reach down into fibers, making them especially effective for stubborn hair stuck in car mats, seats, or carpets.
Next time your dog leaves a trail of fur behind, reach for the pumice stone. You might be surprised at how well it works!
Loopeer 2 Pcs Pet Hair Remover Pumice Stone for Dog Cat Hair Removal Cleaning Pet Fur Stone 6 Inch Dog Fur Cleaning Tool for Car Interior Bedding Carpet Couch Furniture
Baking pans are one of those kitchen staples we tend to forget about.
They get used. They get washed. They get stacked back in the cabinet.
And years can go by without us ever thinking about replacing them.
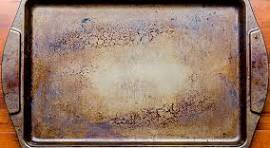
But baking pans don’t last forever.
Over time, even good-quality pans can warp, scratch, lose their nonstick coating, or develop hot spots that affect how evenly food cooks. You may notice cookies browning unevenly, cakes sticking more often, or cleanup becoming harder than it used to be.
Those are quiet signs your pans might be past their prime.
Worn-out baking pans don’t just make baking frustrating—they can also impact results. A recipe you’ve made a hundred times suddenly doesn’t turn out the same, and it’s easy to blame yourself when the real issue is the equipment.
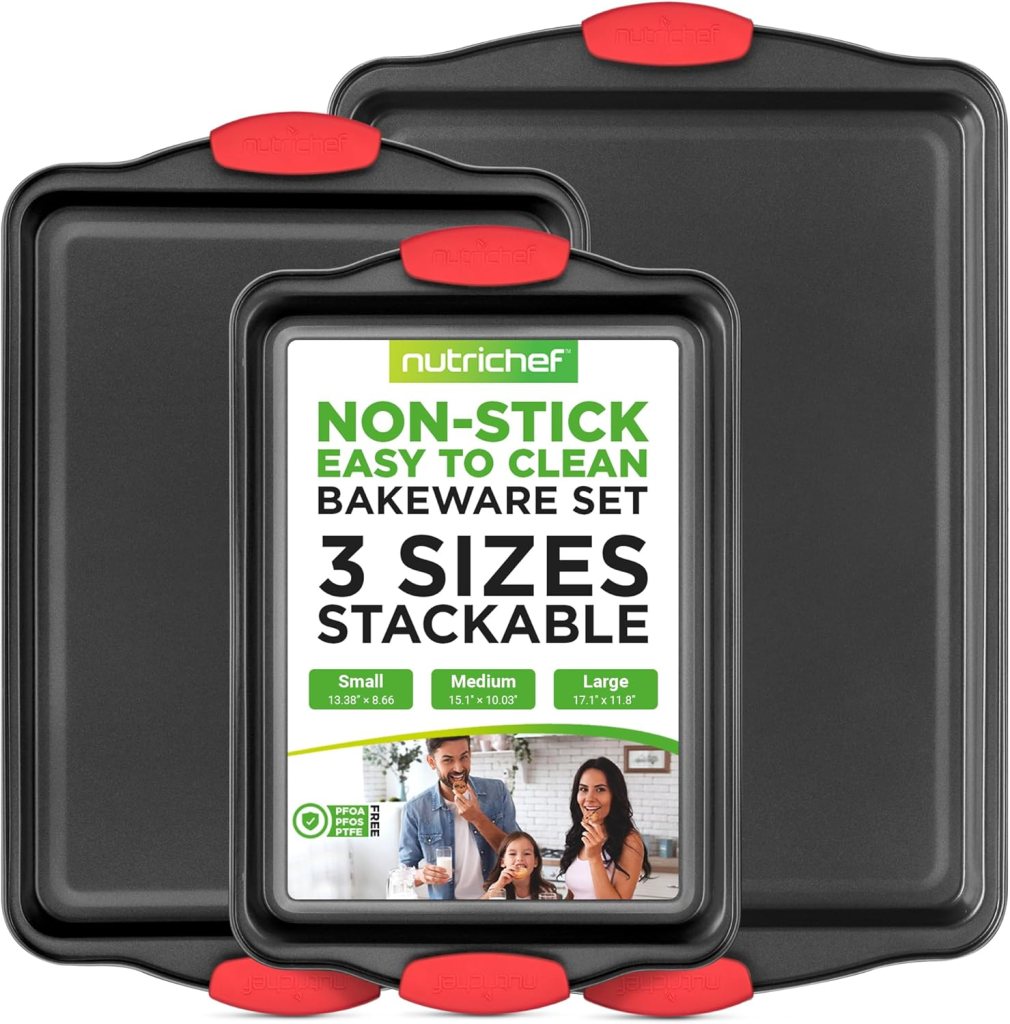
Replacing your baking pans can be a small upgrade that makes a big difference.
New pans heat more evenly. Food releases more easily. Cleanup is faster.
It’s one of those simple changes that instantly improves your kitchen experience.
Another thing to consider is what type of pans you’re using. Today’s options include nonstick, stainless steel, aluminized steel, ceramic-coated, and silicone. Choosing quality materials can extend the life of your pans and improve performance.
A basic replacement set doesn’t have to be expensive or complicated. A couple of sheet pans, a muffin tin, and one or two cake or loaf pans cover most everyday needs.
Think of it as routine maintenance for your kitchen.
Just like you replace worn-out sponges, old cutting boards, or scratched cookware, baking pans deserve the same attention.
If your pans are stained beyond cleaning, flaking, warped, or simply not performing the way they once did, it might be time.
Sometimes the smallest upgrades make the biggest difference in how much you enjoy cooking and baking at home.
https://amzn.to/4rF889z NutriChef 3-Piece Nonstick Kitchen Oven Baking Pans – Premium & Stylish Non-Stick Steel, Commercial Grade Restaurant Quality Metal Bakeware with Red Silicone Handle
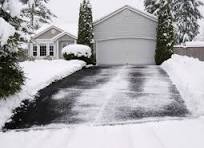
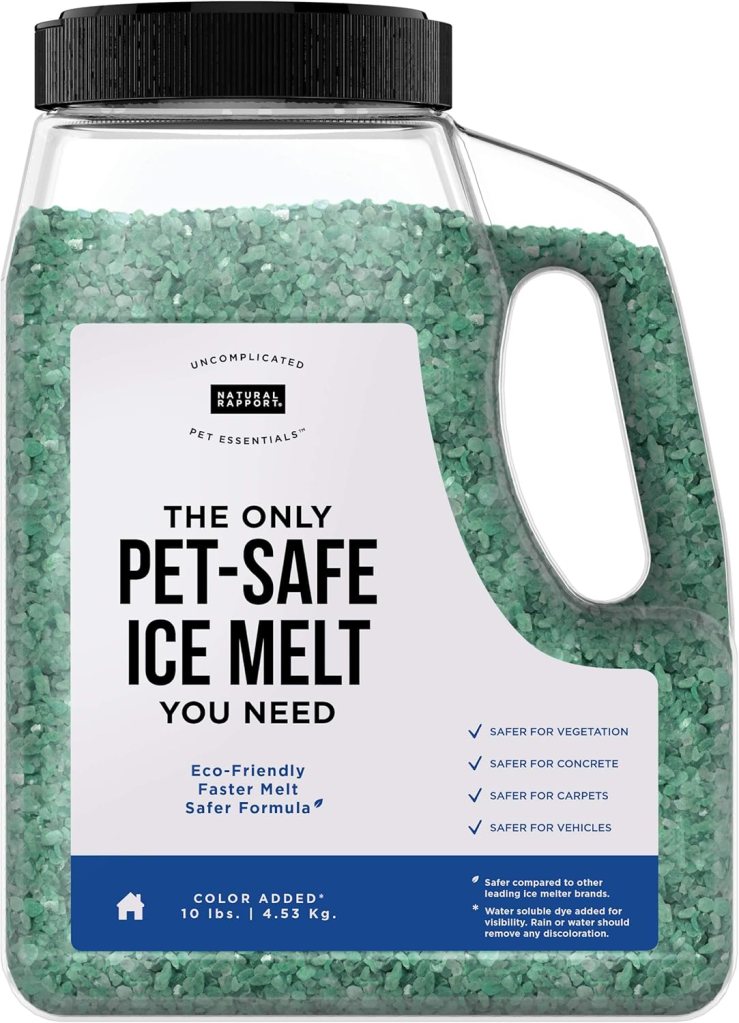
Winter weather can turn sidewalks, driveways, and steps into slippery hazards in a matter of minutes. When ice forms, it’s easy to panic and spread a heavy layer of salt everywhere—but not all ice melt products are created equal, and overusing them can damage your concrete, landscaping, and even your pets.
Here’s a practical guide to using ice melt safely and effectively at home.
Why Ice Melt Matters
Ice melt isn’t just about convenience—it’s about safety. Slippery surfaces can lead to falls and injuries, especially on stairs and sloped walkways. Ice melt helps prevent accidents by melting the ice and creating traction so you can walk safely.
Choose the Right Ice Melt
Not all ice melt products work the same way. Here are the most common options:
Rock salt (sodium chloride): Cheap and effective down to about 15°F, but can damage concrete and harm plants and pets.
Calcium chloride: Works in colder temperatures (down to -25°F) and melts ice quickly, but can be more expensive.
Magnesium chloride: Gentler on concrete and plants, works well in colder weather, and is often pet-friendly.
Potassium chloride: Safer for plants and concrete, but less effective in very cold temperatures.
If you want the safest option for your home, magnesium chloride is often a great balance between effectiveness and gentleness.
How to Use Ice Melt Effectively
Using ice melt correctly is just as important as choosing the right product. Here’s the best way to apply it:
Clear loose snow first. Ice melt works best on bare surfaces. Shovel or sweep away snow before applying.
Apply a thin layer. More is not better. A thin, even layer is all you need.
Give it time to work. Ice melt doesn’t always act instantly. Wait 10–15 minutes, then scrape or sweep the melted ice away.
Reapply only if needed. If the ice remains, add a small second layer—don’t cover it in salt.
Protect Your Home and Yard
Ice melt can harm concrete, plants, and pets if overused. Here are some ways to protect what matters:
Avoid using rock salt on decorative concrete or new concrete (less than a year old).
Keep ice melt away from landscaping. Create a barrier or apply carefully near plants.
Use pet-safe ice melt if you have animals. Always wipe paws after walking outside.
Rinse walkways in the spring to remove leftover salt residue.
These won’t melt ice, but they provide grip so you don’t slip.
Ice melt is a simple tool, but using it smartly makes a big difference. Choose the right product, apply it correctly, and protect your concrete, plants, and pets. With the right approach, you can keep your home safe and walkable all winter long.
https://amzn.to/4qESLOd SAFER FOR PETS – Made in the USA. Our proprietary, eco-friendly formula is safer for your pets, children, and carpet and tile when little feet or paws track some in the house. The safe deicing formula is easier on a pet paw and works better on ice. WORKS FAST AND LAST 3X LONGER – Our fast-acting, “time release” formula lasts longer and helps prevent re-icing on your driveway, sidewalk or patio. The jug has up to 25% more ice melt than our competitors, so our 10 pound jug will last even longer.
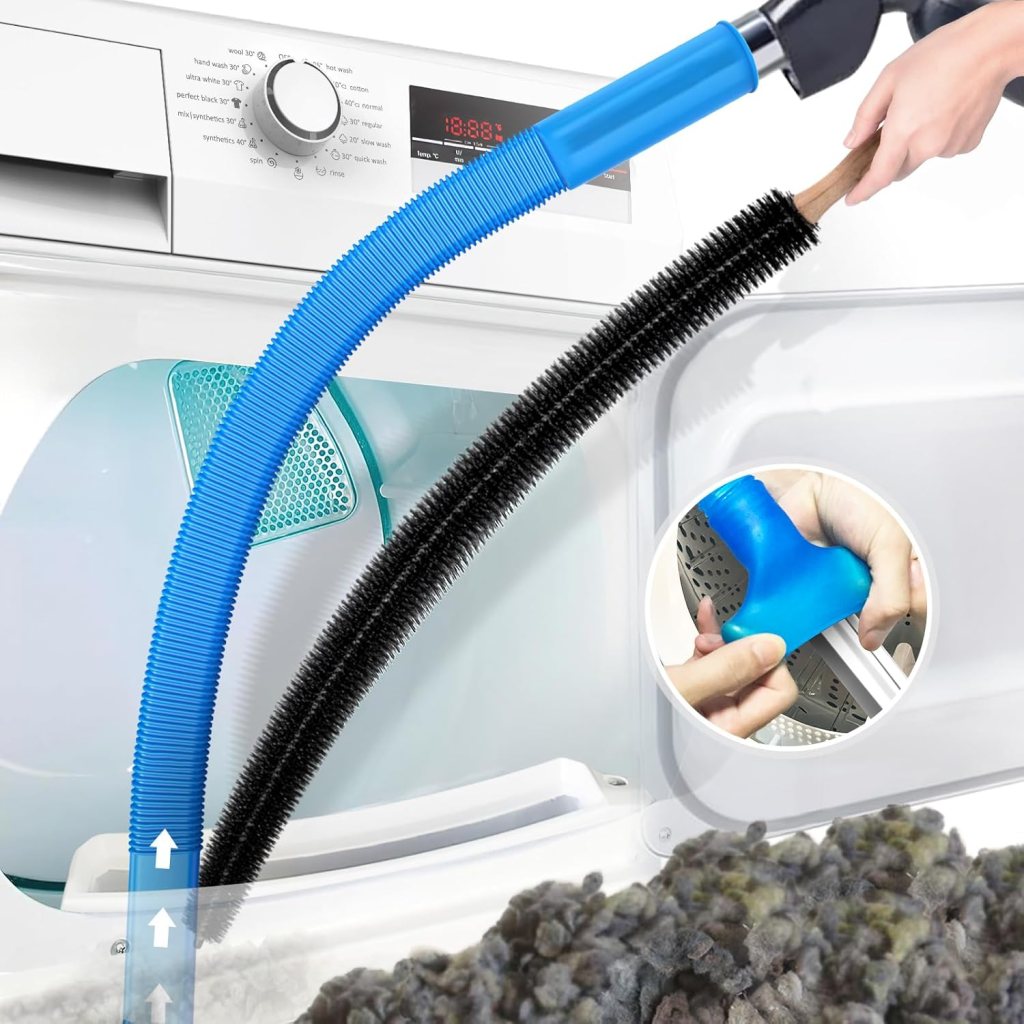
It’s one of those home maintenance tasks that’s easy to forget—until it becomes a problem. Cleaning your dryer vents isn’t glamorous, but it’s important for safety, efficiency, and the longevity of your appliance.
If it’s been a while since you last checked yours, this is your reminder.
Why Dryer Vent Cleaning Matters
Over time, lint builds up inside dryer vents. While the lint trap catches some of it, a significant amount escapes into the vent system. That buildup restricts airflow, making your dryer work harder and less efficiently.
More importantly, lint is highly flammable. Clogged dryer vents are one of the leading causes of household fires, according to fire safety organizations. Regular cleaning significantly reduces that risk.
Signs Your Dryer Vent Needs Attention
Your dryer may already be giving you clues. If clothes are taking longer than usual to dry, the dryer feels unusually hot, or you notice a burning smell, restricted airflow could be the cause. Excess lint behind the dryer or at the exterior vent is another common warning sign.
Efficiency Saves Time and Money
A clean dryer vent helps your appliance run efficiently. When air flows freely, clothes dry faster, energy use decreases, and wear and tear on the dryer is reduced. Over time, this can extend the life of your dryer and lower utility bills.
How Often Should You Clean It?
For most households, cleaning the dryer vent at least once a year is recommended. Homes that do a lot of laundry—especially those with pets—may benefit from more frequent cleanings.
Some homeowners handle this themselves with vent cleaning kits, while others prefer to hire a professional. Either way, the key is not letting it slide year after year.
A Small Task With Big Impact
Homeownership is full of little responsibilities that don’t always feel urgent—until they are. Cleaning your dryer vent is a small task that delivers peace of mind, improved performance, and added safety.
Set a reminder, add it to your seasonal checklist, and take care of it before it becomes a bigger issue.
Because sometimes the simplest maintenance makes the biggest difference.
As the days grow shorter and the weather turns colder, our homes can start to feel a little darker and gloomier. The lack of natural sunlight can have a significant impact on our mood and overall well-being, but with a few clever tweaks, you can make the most of the daylight you do get and even make your space feel brighter and more inviting.
Here are some easy and effective ways to boost natural light indoors during the darker months:
1. Use Mirrors to Reflect Light
Mirrors are one of the simplest and most effective ways to amplify natural light in a room. By strategically placing mirrors opposite windows or in areas where light can bounce off them, you can create the illusion of more space and brightness. A large mirror or a group of smaller ones placed thoughtfully can reflect light into darker corners, making your home feel sunnier and more spacious.
Mirrors with light-colored frames or frameless mirrors will blend seamlessly with your décor while maximizing the reflective effect.
2. Opt for Light Curtains or Blinds
Heavy drapes or dark blinds may block out light, making a room feel even dimmer. Instead, choose light-colored or sheer curtains that allow more daylight to filter through. If you prefer blinds, go for ones in light, neutral shades. These subtle changes can make a world of difference in the amount of natural light entering a room.
Keep curtains open during the day to let as much light in as possible, and close them at night for warmth and privacy.
3. Use Light Colors for Walls and Furniture
Dark-colored walls and furniture can absorb light, making a room feel smaller and more cramped. Instead, opt for lighter shades such as whites, light grays, pastels, or off-whites to create a brighter, more open atmosphere. Light-colored furniture and accessories will reflect light rather than absorbing it, helping to brighten up the space.
If you’re not ready to repaint, start with smaller accents like throw pillows, rugs, and table lamps in light shades to add brightness.
4. Strategically Place Furniture
The way you arrange your furniture can make a big impact on how natural light flows throughout the room. Avoid blocking windows with large pieces of furniture, and instead, arrange seating or shelving near walls where light can bounce off. Open up the flow of the room to ensure that light doesn’t get trapped in corners.
Keep the space around windows as clear as possible to allow natural light to reach every corner of the room.
5. Maximize Natural Light in Your Entryway
If your entryway tends to be dark, consider installing a glass door, adding a transom window, or placing a mirror near the entrance. This will help draw natural light into your home as soon as you walk through the door.
Add a light-colored rug and an inviting piece of artwork to create an even brighter and more welcoming entryway.
6. Add Plants Near Windows
Not only do plants bring life and freshness to your home, but they can also help optimize light. Place them near windows to enhance your natural lighting while adding a natural, calming touch. Plus, plants can help purify the air, improving both the atmosphere and the light quality in your home.
Opt for low-maintenance plants like snake plants or succulents if you’re short on time.
By incorporating some of these strategies into your home, you can brighten up the space, enhance your mood, and make your home feel more vibrant, even when the days are short and the skies are overcast. Whether it’s with a mirror, lighter curtains, or a rearranged furniture layout, small adjustments can create big improvements in how you experience natural light indoors. Plus, who doesn’t love a bright, sunny home during the colder months?
Let the light in and enjoy the seasonal warmth—inside and out!
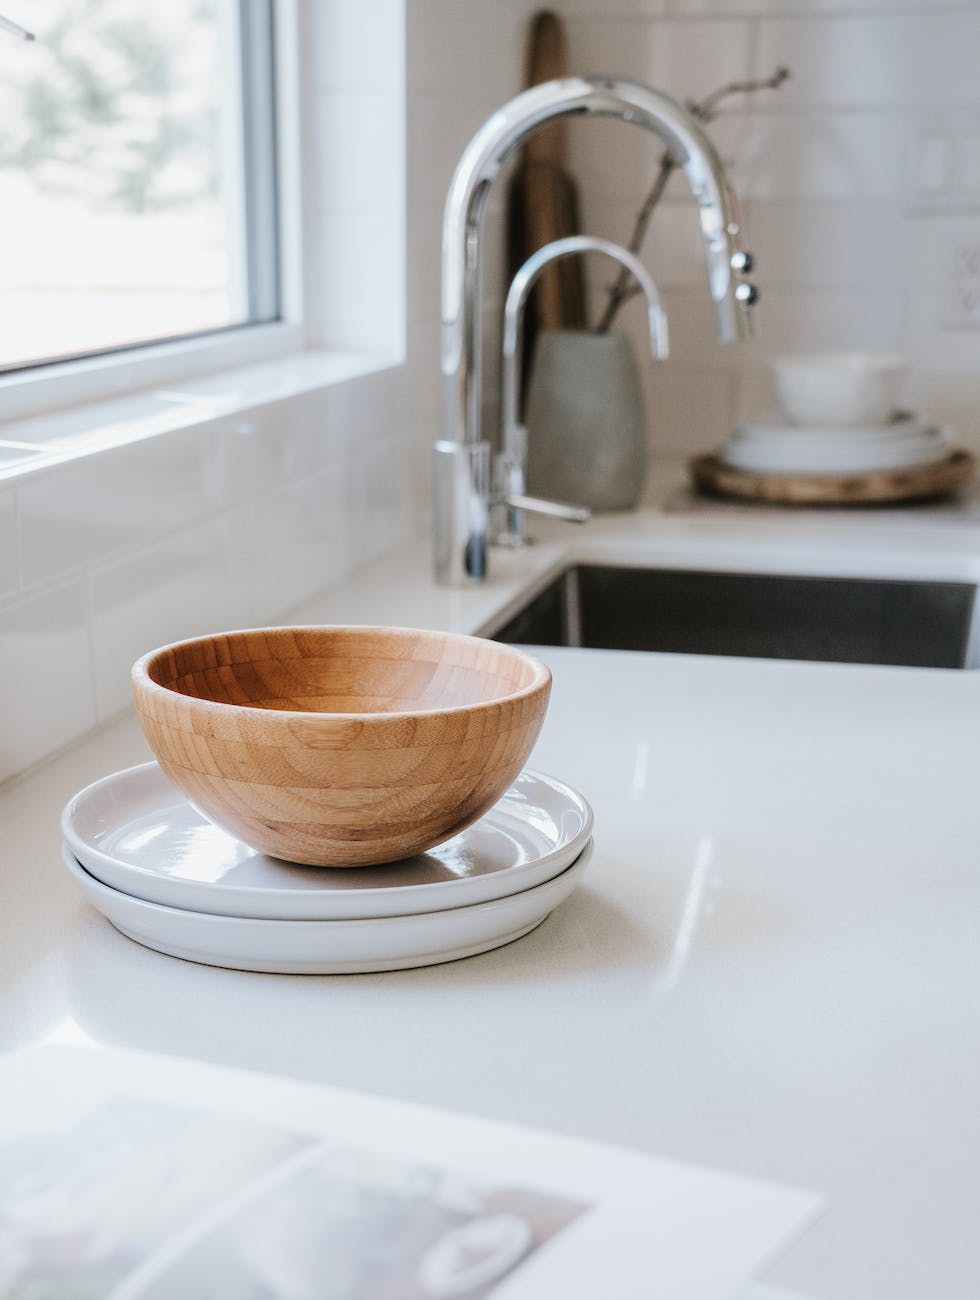
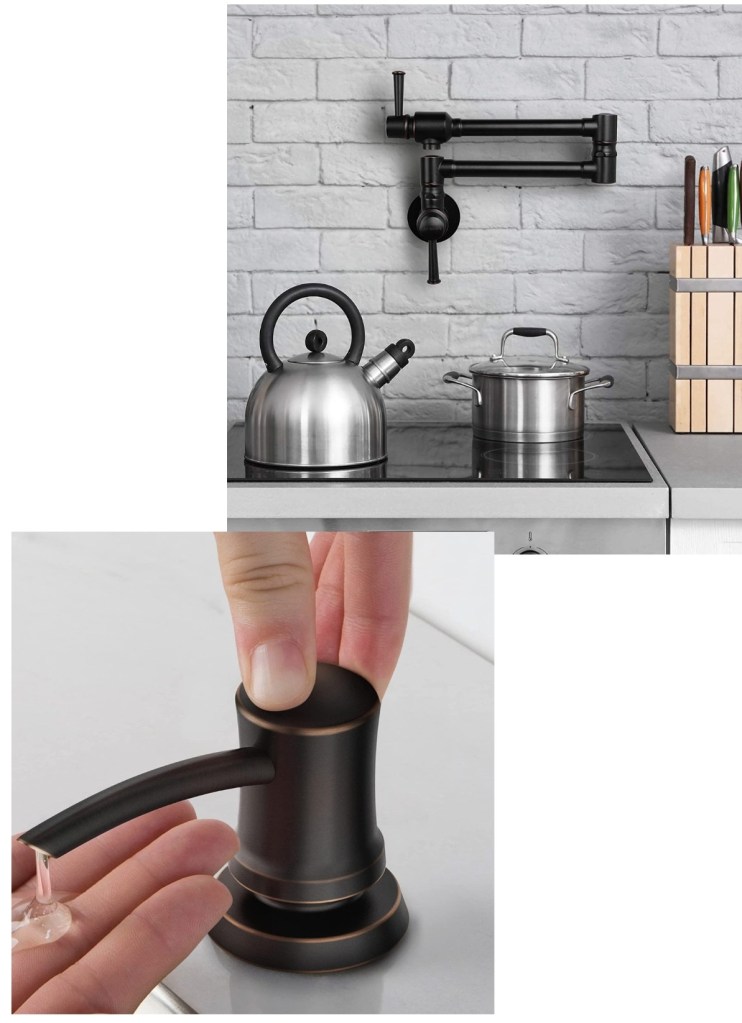
The kitchen triangle is a concept used in kitchen design to optimize the layout and functionality of the space. The triangle refers to the three key work areas in the kitchen: the sink, the refrigerator, and the stove. These areas are the most frequently used in the kitchen and should be positioned in a way that makes it easy and efficient to move between them.
The concept of the kitchen triangle suggests that these three areas should be arranged in a triangular shape, with each side of the triangle measuring between 4 and 9 feet. This layout creates an efficient flow and allows the cook to move easily between the work areas without encountering obstacles.
The sink is typically located on one side of the triangle, with the refrigerator on another and the stove or cooktop on the third. The idea is that the cook can easily move between these three areas to wash, prepare, and cook food. This layout also helps to prevent traffic jams and ensures that the cook has enough space to move around comfortably.
If you’re planning a home improvement project—whether it’s remodeling a kitchen, finishing a basement, or adding a deck—you might be wondering: Do I really need a permit? It can feel like just another layer of red tape, but getting a permit is more important than many homeowners realize. It protects you, your investment, and even your safety.
Here’s why obtaining the proper permits matters when you have work done on your home:
1. Permits Ensure the Work Meets Safety Standards
Building codes exist to make sure homes are safe to live in. When you get a permit, city or county inspectors review the plans and check the finished work to ensure everything meets current safety regulations. This includes:
Proper electrical wiring
Secure structural framing
Adequate plumbing and ventilation
Fire and emergency access compliance
Without inspections, you risk faulty work that could cause major safety hazards down the road.
2. It Protects Your Investment
Your home is likely your biggest financial asset. Unpermitted work can hurt its value—especially if you decide to sell later. Buyers (and their lenders) often require proof that renovations were done to code. If you can’t provide documentation, it can delay or even derail a sale.
Having the right permits shows that improvements were done properly and helps maintain your home’s market value.
3. It Can Save You Money in the Long Run
Skipping permits might save time and fees upfront, but it can cost you much more later. If something goes wrong—like a faulty electrical upgrade or leaky plumbing—the repairs may not be covered by your homeowner’s insurance if the work wasn’t permitted. You could also face fines or be forced to undo the work to meet code requirements.
Permits are like insurance for your renovation—they help prevent costly mistakes.
4. It Keeps Contractors Accountable
Reputable contractors pull permits because they want the work done right and up to code. If a contractor insists you don’t need one, that’s a major red flag. Permits ensure that professionals are held accountable for the quality and safety of their work.
5. It’s the Law
At the end of the day, permits are legally required for many types of home improvement projects. While smaller updates like painting or replacing flooring might not need one, major work—especially anything involving structure, plumbing, or electrical—almost always does.
Permits aren’t just about following rules—they’re about protecting your family, your finances, and your future. When you do things the right way, you gain peace of mind knowing your home is safe, valuable, and built to last.
So before starting your next project, check with your local building department. A little paperwork now can save a lot of headaches later.