Wooden blinds bring warmth, texture, and timeless charm to any room. But when it comes to cleaning them? Let’s just say… it’s easy to put it off. Dust settles, grime builds, and suddenly those beautiful blinds are looking a little dull.
The good news? You don’t need fancy tools or harsh chemicals to bring them back to life. Just a little care—and the right technique.
Here are five easy, effective tips for cleaning wooden blinds while keeping them in great shape:
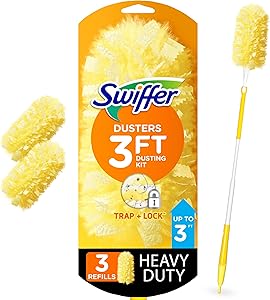
1. Dust Regularly With a Microfiber Cloth or Duster
Keeping up with dust prevents buildup and makes deep cleaning easier. Close the blinds and run a dry microfiber cloth or duster along each slat, then flip and repeat on the other side. A clean, dry sock over your hand works great too!
Work top to bottom to keep dust from falling on slats you’ve already cleaned.
2. Use a Vacuum With a Brush Attachment
If it’s been a while, a vacuum with a soft brush attachment can gently lift dust without spreading it around. Be gentle—wood can scratch easily!
Avoid using high suction or stiff bristles—these can damage the finish.
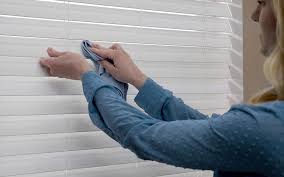
3. Damp Wipe for Stubborn Dirt
If dusting isn’t enough, lightly dampen a cloth with water and a tiny drop of mild dish soap. Wipe gently, then dry immediately with a soft towel.
Never soak wood blinds or let water sit—moisture can warp or stain the wood.
4. Tackle Sticky Spots With Care
Have spots near the kitchen? Grease and residue can collect over time. Use a damp cloth with vinegar diluted in water (50/50) for sticky areas—then dry right away.
Always test a small area first to ensure the solution doesn’t dull the finish.
5. Polish Occasionally for a Natural Shine
Want to keep your wooden blinds looking new? Use a wood-safe furniture polish or conditioner occasionally to restore shine and protect from drying out.
Avoid using polish every time you clean—once every few months is enough.
Consistency Matters
The best way to keep wooden blinds looking their best is regular care. A quick dust once a week keeps the grime away and saves you from bigger cleaning jobs later.