The method of hanging your wreath can make a big difference in both aesthetics and convenience. Here’s a simple yet effective way to ensure your wreath hangs beautifully and securely.
- Gather Your Materials:
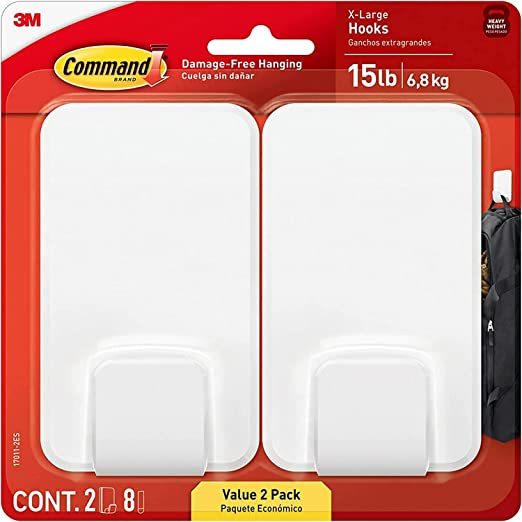
- Clear Command Hook: Choose a small, upside-down Command Hook that attaches to the inside top of your door.
- Ribbon, Fishing Line, or Wire: Use a strong and durable material to suspend your wreath.
- Position the Command Hook: Place the Command Hook upside down on the inside top of your door. This position keeps the hook hidden from view when the door is closed and maintains a clean look.
- Attach the Hanging Material: Tie your ribbon, fishing line, or wire securely to your wreath. Make sure the attachment is stable and won’t easily come undone.
- Hang the Wreath: Hang your wreath by attaching the ribbon, fishing line, or wire to the Command Hook. Allow the wreath to drape naturally over the top of your door and extend to the outside.
- Check for Balance: Step back and assess the position of your wreath. Ensure that it hangs evenly and is well-balanced.
- Secure the Drape: If desired, you can use a small adhesive hook or tape on the outside of the door to gently secure the draped portion of the ribbon or line. This step prevents the wreath from swinging in the wind.
This method offers a sleek and unobtrusive solution to hanging wreaths without damaging your door or compromising its aesthetics. 🌿🚪✨ #WreathHangingGuide #FrontDoorDecor #DIYHomeDecor