We’ve all had that moment.
You scrub.
You spray.
You wipe again.
And the stain is still there.
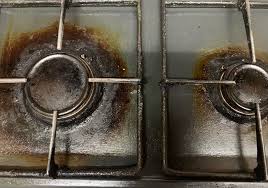
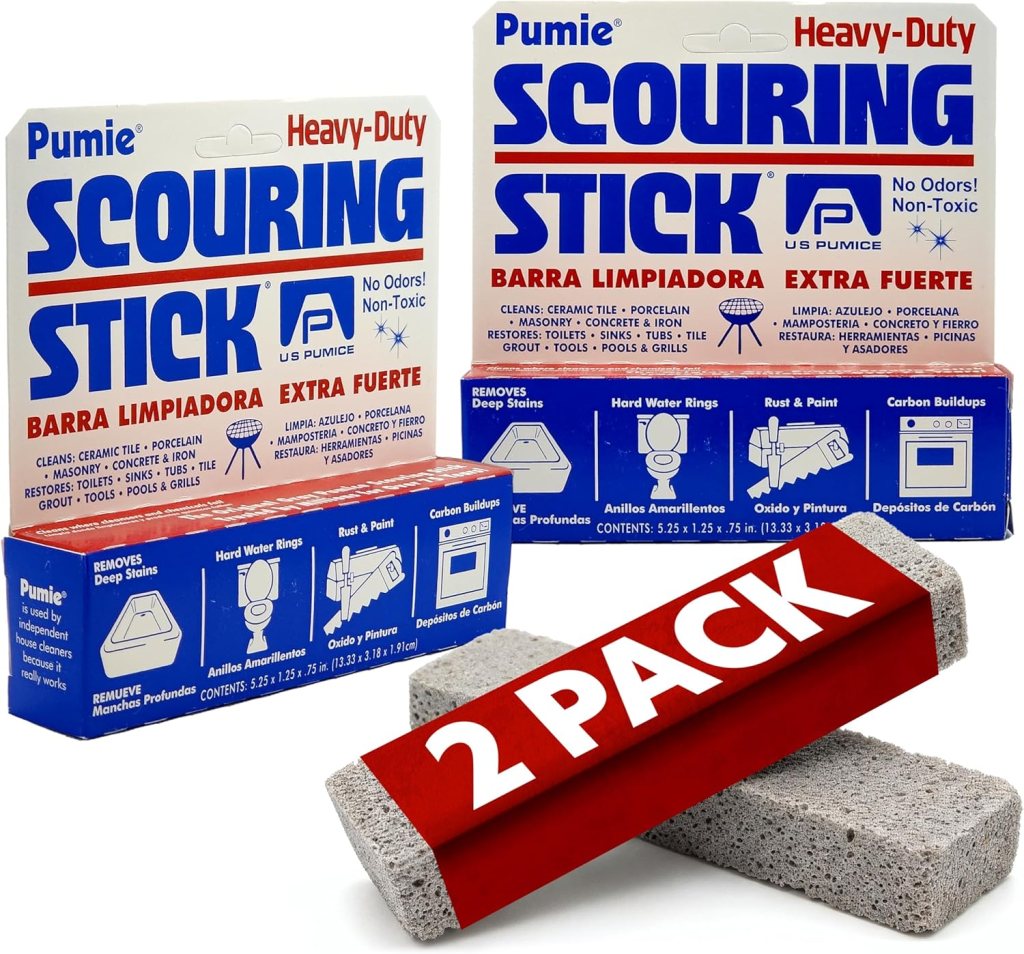
Some buildup just doesn’t respond to typical sprays and sponges. Hard water rings, rust stains, mineral deposits, grease that’s baked on — they cling to surfaces like they’ve decided they’re permanent. That’s when you need something stronger. Not harsher. Just more effective.
For the Stains That Don’t Budge
Certain cleaning tools are specifically designed to tackle the tough stuff that everyday cleaners can’t remove. They’re especially effective in toilet bowls, where hard water stains and mineral rings tend to settle in and stick around. Instead of layering on more chemicals, these tools physically break down the buildup and restore the surface underneath.
The difference is noticeable right away. That dull, stained surface starts to look clean again — not just masked, but truly restored.
More Than Just the Bathroom
What makes these tools especially useful is their versatility.
They’re not limited to toilets. They can be used on:
- Ceramic tile
- Porcelain
- Concrete
- Metal surfaces
- Grills and barbecue grates
- Pool tiles
- Outdoor furniture
If it’s dealing with rust, scale, grease, or hard water buildup, chances are it can help.
That makes it one of those rare cleaning tools that earns a permanent place in the cabinet. Instead of buying separate products for every surface, you have one reliable solution that handles multiple jobs.
Tough on Stains, Safe for Your Home
One of the biggest concerns with heavy-duty cleaning is safety — especially in homes with kids and pets. You want something effective, but not something that leaves behind harsh fumes or questionable residue.
Professional-grade cleaning tools like these are designed to be powerful on stains while still being safe for everyday household use. That balance matters. A clean home shouldn’t come with worry attached.
Professional Results at Home
There’s a reason professionals rely on tools like this. They work.
They don’t rely solely on chemicals to dissolve stains. Instead, they physically remove buildup that’s been sitting there for months — sometimes years. It’s satisfying to see a stubborn stain finally disappear.
And sometimes, that small win — a truly clean sink, a spotless toilet bowl, a rust-free grill — just feels good.
Because a clean space creates a clear mind.
If you’ve been fighting the same tough stains with the same results, it may not be your effort that’s lacking. It may just be time for a better tool.
(try on a small spot before use)