As we age, maintaining comfort, accessibility, and safety in our homes becomes increasingly important. Simple modifications can make daily tasks easier and create a space that supports independence. Here are four key home updates designed with aging individuals in mind.
1. Replace Cabinet and Door Handles
Traditional knobs can be challenging for individuals with arthritis or limited dexterity. Consider replacing them with D-shaped handles, which are easier to grasp and don’t require twisting motions. This small change can significantly enhance functionality while maintaining style. These handles are available in a wide range of designs, ensuring your home stays both practical and aesthetically pleasing.
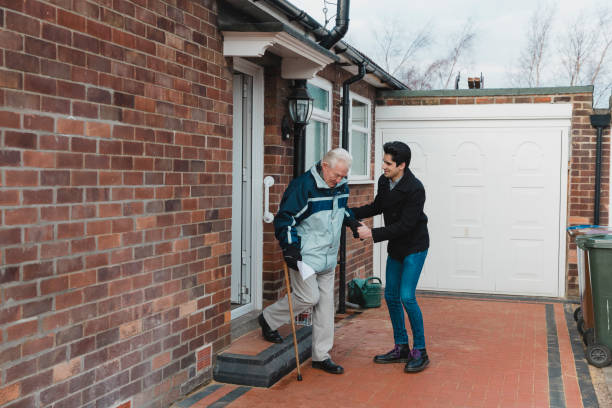
2. Install Grab Bars and Railings
Grab bars are essential safety features, particularly in areas prone to slips and falls, like the bathroom. They provide stability for movements and can double as a resting handhold. Proper installation is key to ensuring they support weight effectively. Railings along stairs or outdoor steps can also be lifesavers, offering additional balance and confidence for homeowners.
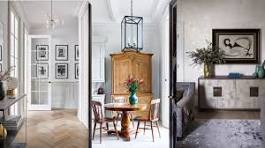
3. Widen Doorways to 36 Inches, at Minimum
Mobility aids like wheelchairs and walkers require sufficient space to navigate. Standard doorways are often too narrow, creating obstacles. By widening doorways to at least 36 inches, you ensure easier movement throughout the home. This modification promotes long-term accessibility, making it possible to age in place comfortably.
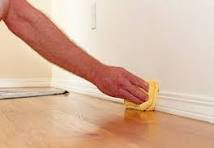
4. Update Flooring for Safety
Slippery or uneven flooring poses a significant risk for falls. Consider replacing slick surfaces with non-slip materials like textured vinyl, rubber, or carpet tiles. Additionally, ensure any area rugs have non-slip backing or are secured to the floor to prevent tripping.
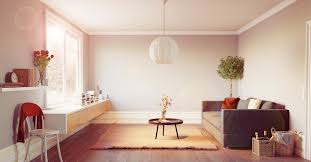
Aging Gracefully at Home
These thoughtful modifications enhance safety, accessibility, and overall quality of life. Whether you’re planning for yourself or helping a loved one, taking proactive steps ensures that home remains a haven for years to come.
By making these updates, you can create a space that adapts to your needs and allows you to age comfortably and independently.