When it comes to improving your outdoor space, sometimes the simplest additions make the biggest impact. Installing solar lights on your fence or outdoor stairs is a smart, affordable, and eco-friendly way to add charm, safety, and functionality to your yard.
Why Choose Solar Lights?
No wiring required – Solar lights are powered by the sun, so there’s no need to hire an electrician or deal with tangled wires.
Energy-efficient – They charge during the day and automatically light up at night, saving energy and lowering utility bills.
Low maintenance – Once installed, they require minimal care beyond the occasional cleaning.
Stylish and versatile – From sleek modern designs to rustic lantern looks, there’s a solar light to match your style.
Fence Lighting: Subtle Beauty + Security
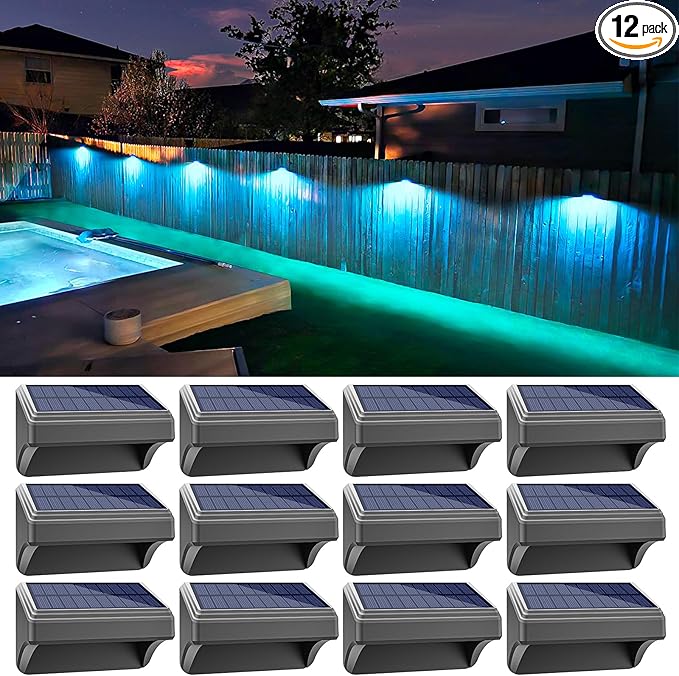
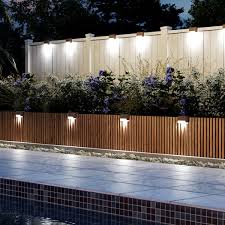
Adding solar lights along your fence gives your yard a warm, inviting glow while improving visibility. It also helps define your property line at night, adding a subtle layer of security.
💡 Tip: Space lights evenly for a balanced look, and choose weather-resistant models for durability.
Stair Lighting: Safety First
Outdoor stairs can be tricky to navigate at night. Solar lights mounted on or beside steps can prevent trips and falls while creating a cozy, welcoming atmosphere.
💡 Tip: Install lights at a low angle to softly illuminate each step without creating glare.
A Small Addition with Big Impact
Solar lights are an easy DIY upgrade that instantly boosts your home’s curb appeal, safety, and functionality. Whether you’re entertaining guests or simply enjoying a quiet evening outdoors, you’ll appreciate the added glow.