A new trend has emerged, captivating the hearts of bookworms and design enthusiasts alike—Bookshelf Wealth. This aesthetic movement goes beyond mere aesthetics, transforming your home into a haven of knowledge, comfort, and warmth.
At its core, Bookshelf Wealth is about celebrating the art of reading, creating a curated haven for your cherished book collection. It’s not just about displaying books for show; it’s about showcasing volumes that have been carefully selected, read, and cherished over time. San Diego-based designer Kailee Blalock of House of Hive emphasizes the intentionality behind the book choices, steering away from the superficial “shelfie” trend.
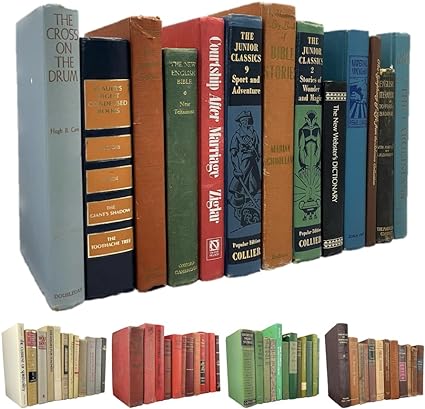
Organizing your books is a crucial aspect of embracing Bookshelf Wealth. Categorize them, alphabetize them, or even coordinate them by color and pattern. The goal is to turn your bookshelf into a reflection of your intellectual journey, a tangible representation of your varied interests and personal growth.
Beyond books, the wealth of your bookshelf extends to art and decor. Let your bookshelves become a canvas for an eclectic mix of wall art, showcasing various frames and subject matters. Embrace the deliberately messy look, where art overlaps and disregards conventional boundaries.
Creating a Bookshelf Wealth haven also involves incorporating cozy seating arrangements. Picture window seats, built-in alcoves, or upholstered ottomans strategically placed near your bookshelves create inviting reading nooks. These cozy corners become the perfect spot to immerse yourself in the world of your favorite reads.
To enhance the functionality of your bookshelf, consider investing in bookshelf furniture like library ladders and statement lighting. These additions not only elevate the aesthetic but also make your book collection easily accessible.
Lastly, don’t shy away from embracing patterns and upholstery. Mix and match colors, textures, and patterns to create a visually stimulating and inviting space. Bookshelf Wealth is about turning your home into a reflection of your love for literature, art, and the joy of a cozy reading retreat. Dive into this trend, and let your bookshelves tell the story of your intellectual journey and personal style. #BookshelfWealth #CozyHome #InteriorDesign 📚🏡✨