As the days grow shorter and the weather turns colder, our homes can start to feel a little darker and gloomier. The lack of natural sunlight can have a significant impact on our mood and overall well-being, but with a few clever tweaks, you can make the most of the daylight you do get and even make your space feel brighter and more inviting.
Here are some easy and effective ways to boost natural light indoors during the darker months:
1. Use Mirrors to Reflect Light
Mirrors are one of the simplest and most effective ways to amplify natural light in a room. By strategically placing mirrors opposite windows or in areas where light can bounce off them, you can create the illusion of more space and brightness. A large mirror or a group of smaller ones placed thoughtfully can reflect light into darker corners, making your home feel sunnier and more spacious.
Mirrors with light-colored frames or frameless mirrors will blend seamlessly with your décor while maximizing the reflective effect.
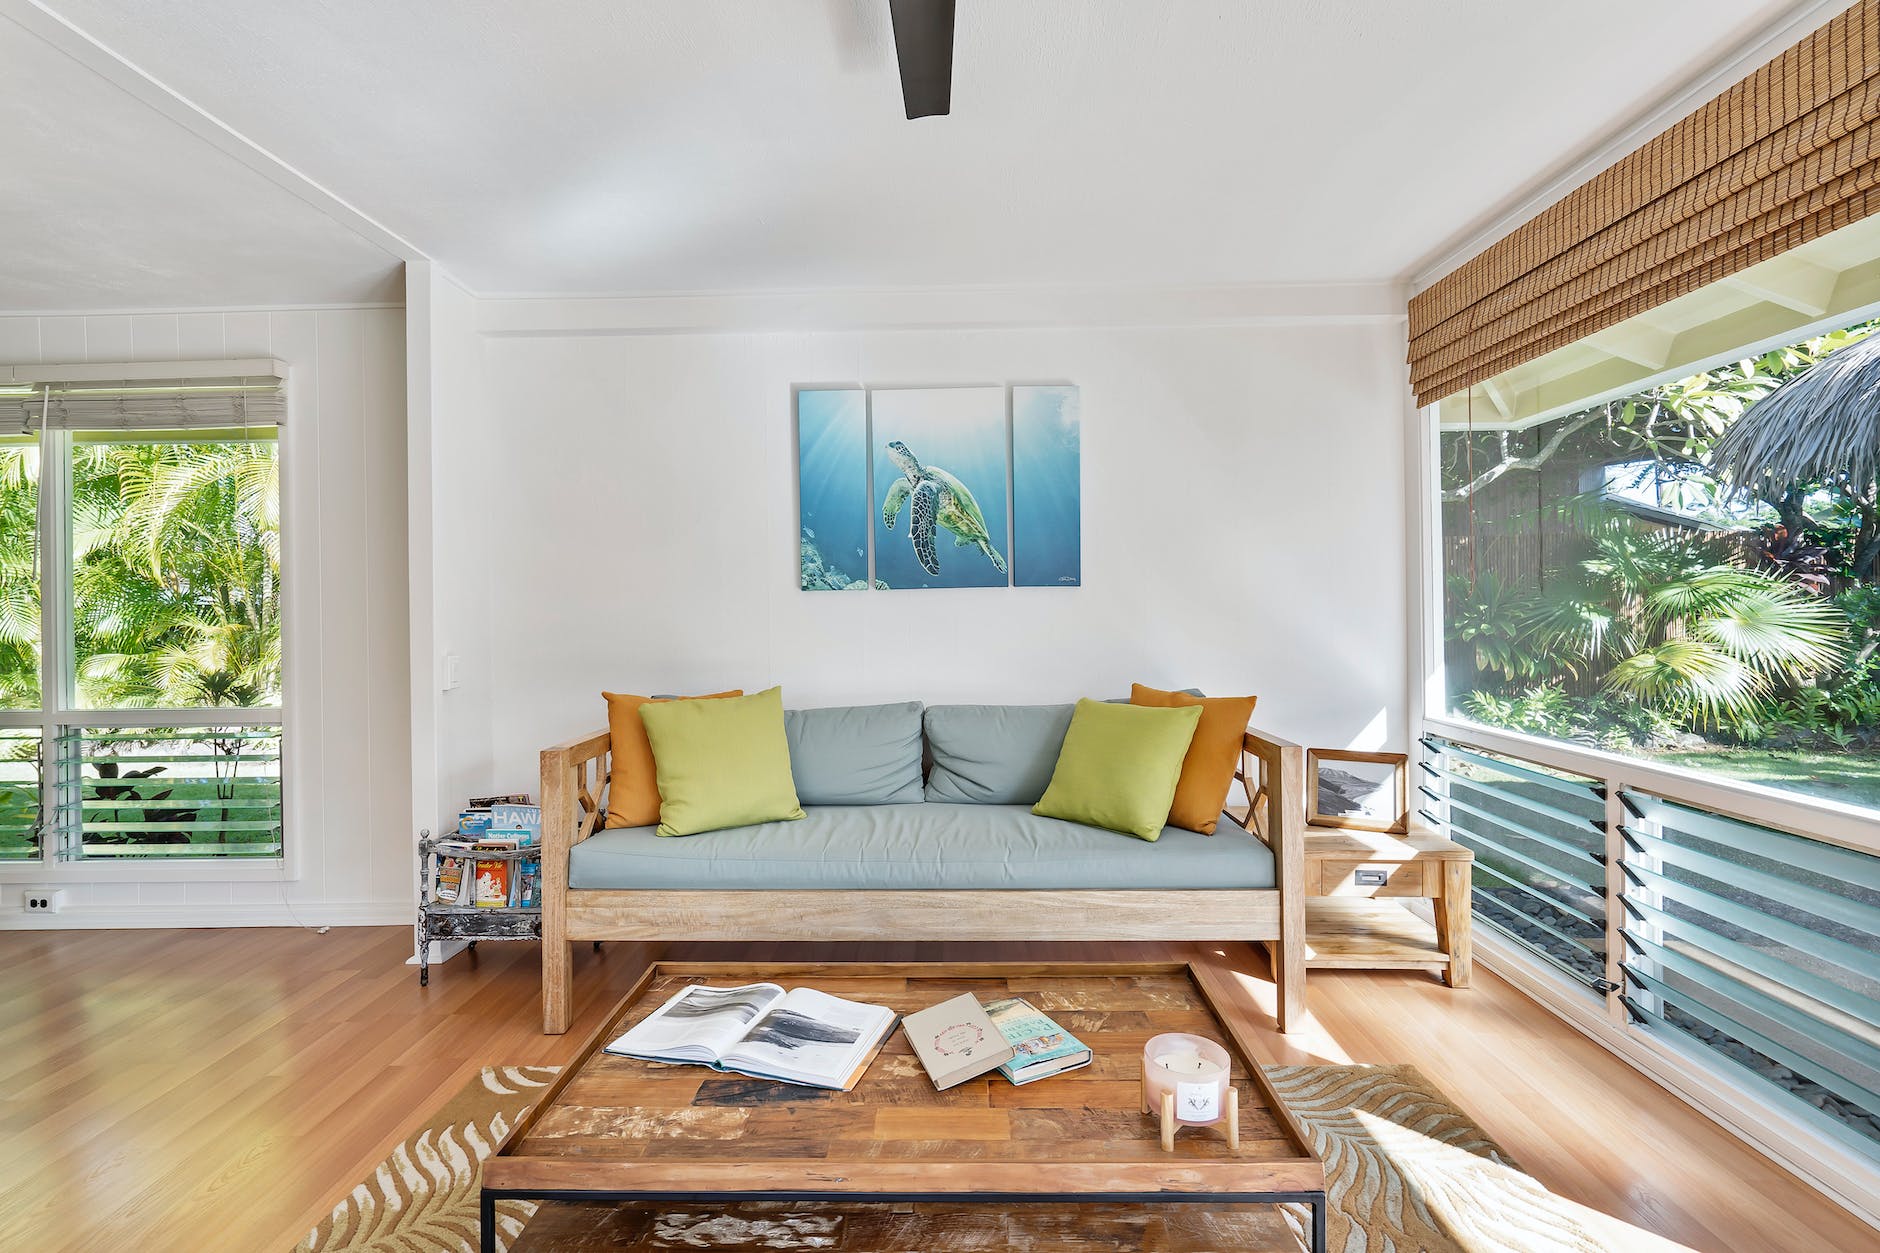
2. Opt for Light Curtains or Blinds
Heavy drapes or dark blinds may block out light, making a room feel even dimmer. Instead, choose light-colored or sheer curtains that allow more daylight to filter through. If you prefer blinds, go for ones in light, neutral shades. These subtle changes can make a world of difference in the amount of natural light entering a room.
Keep curtains open during the day to let as much light in as possible, and close them at night for warmth and privacy.
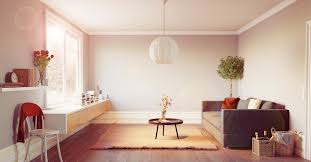
3. Use Light Colors for Walls and Furniture
Dark-colored walls and furniture can absorb light, making a room feel smaller and more cramped. Instead, opt for lighter shades such as whites, light grays, pastels, or off-whites to create a brighter, more open atmosphere. Light-colored furniture and accessories will reflect light rather than absorbing it, helping to brighten up the space.
If you’re not ready to repaint, start with smaller accents like throw pillows, rugs, and table lamps in light shades to add brightness.
4. Strategically Place Furniture
The way you arrange your furniture can make a big impact on how natural light flows throughout the room. Avoid blocking windows with large pieces of furniture, and instead, arrange seating or shelving near walls where light can bounce off. Open up the flow of the room to ensure that light doesn’t get trapped in corners.
Keep the space around windows as clear as possible to allow natural light to reach every corner of the room.
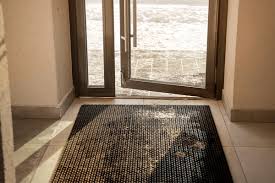
5. Maximize Natural Light in Your Entryway
If your entryway tends to be dark, consider installing a glass door, adding a transom window, or placing a mirror near the entrance. This will help draw natural light into your home as soon as you walk through the door.
Add a light-colored rug and an inviting piece of artwork to create an even brighter and more welcoming entryway.
6. Add Plants Near Windows
Not only do plants bring life and freshness to your home, but they can also help optimize light. Place them near windows to enhance your natural lighting while adding a natural, calming touch. Plus, plants can help purify the air, improving both the atmosphere and the light quality in your home.
Opt for low-maintenance plants like snake plants or succulents if you’re short on time.
By incorporating some of these strategies into your home, you can brighten up the space, enhance your mood, and make your home feel more vibrant, even when the days are short and the skies are overcast. Whether it’s with a mirror, lighter curtains, or a rearranged furniture layout, small adjustments can create big improvements in how you experience natural light indoors. Plus, who doesn’t love a bright, sunny home during the colder months?
Let the light in and enjoy the seasonal warmth—inside and out!